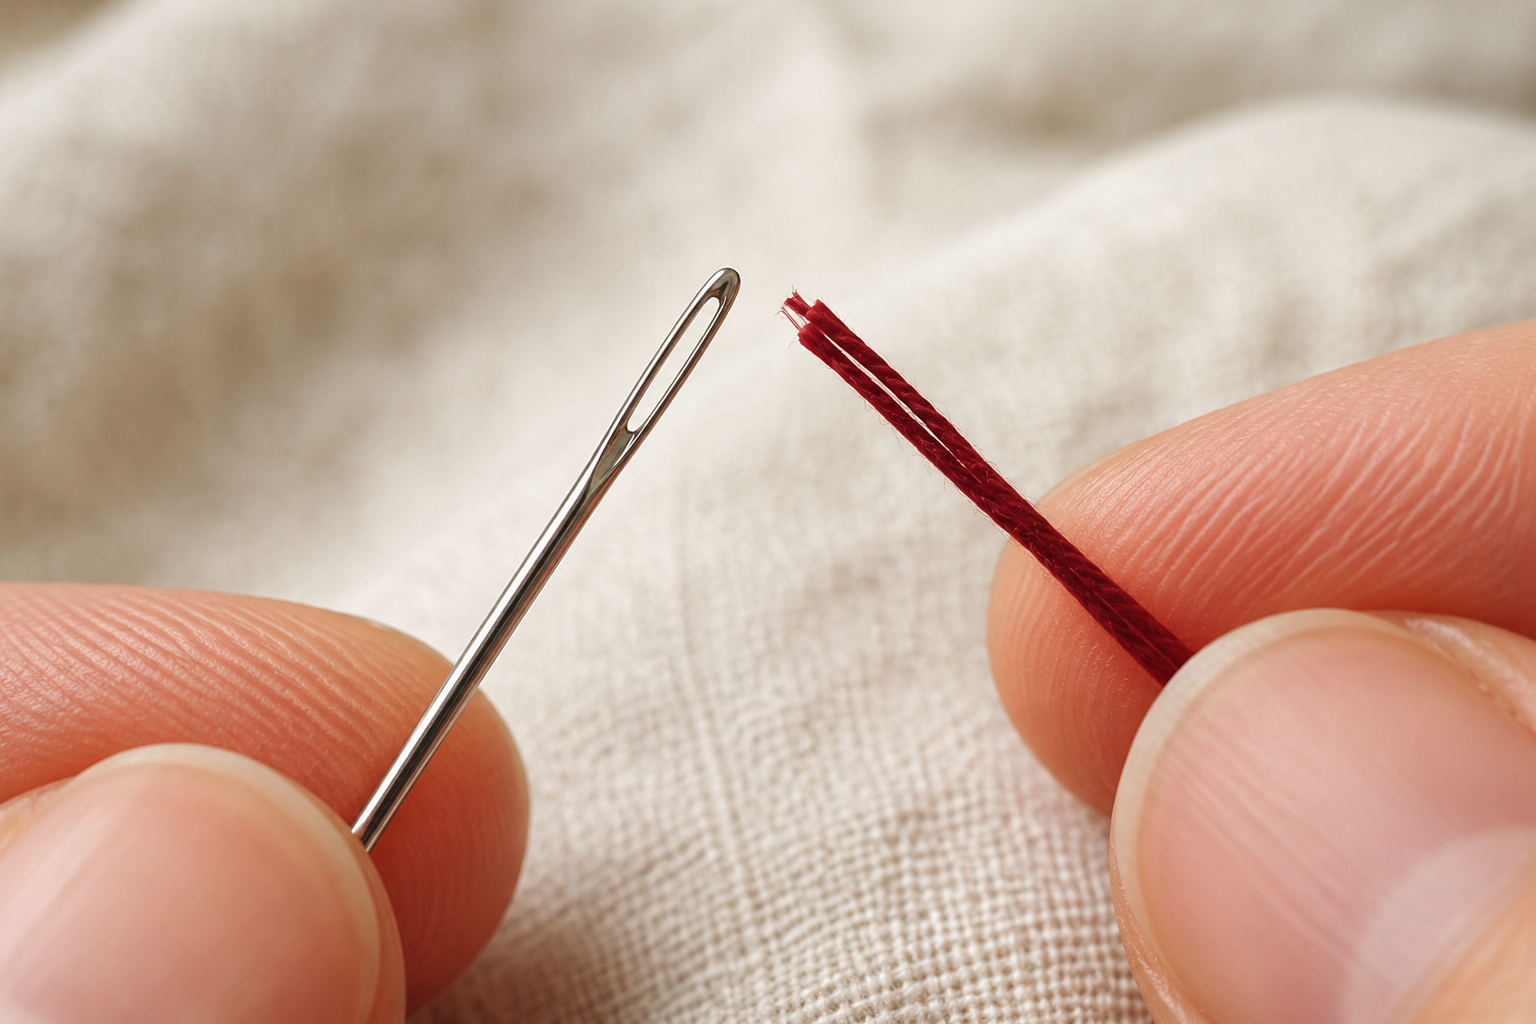
Nine stitches will cover ninety per cent of beginner embroidery. Learn them in order — each one builds on the last.
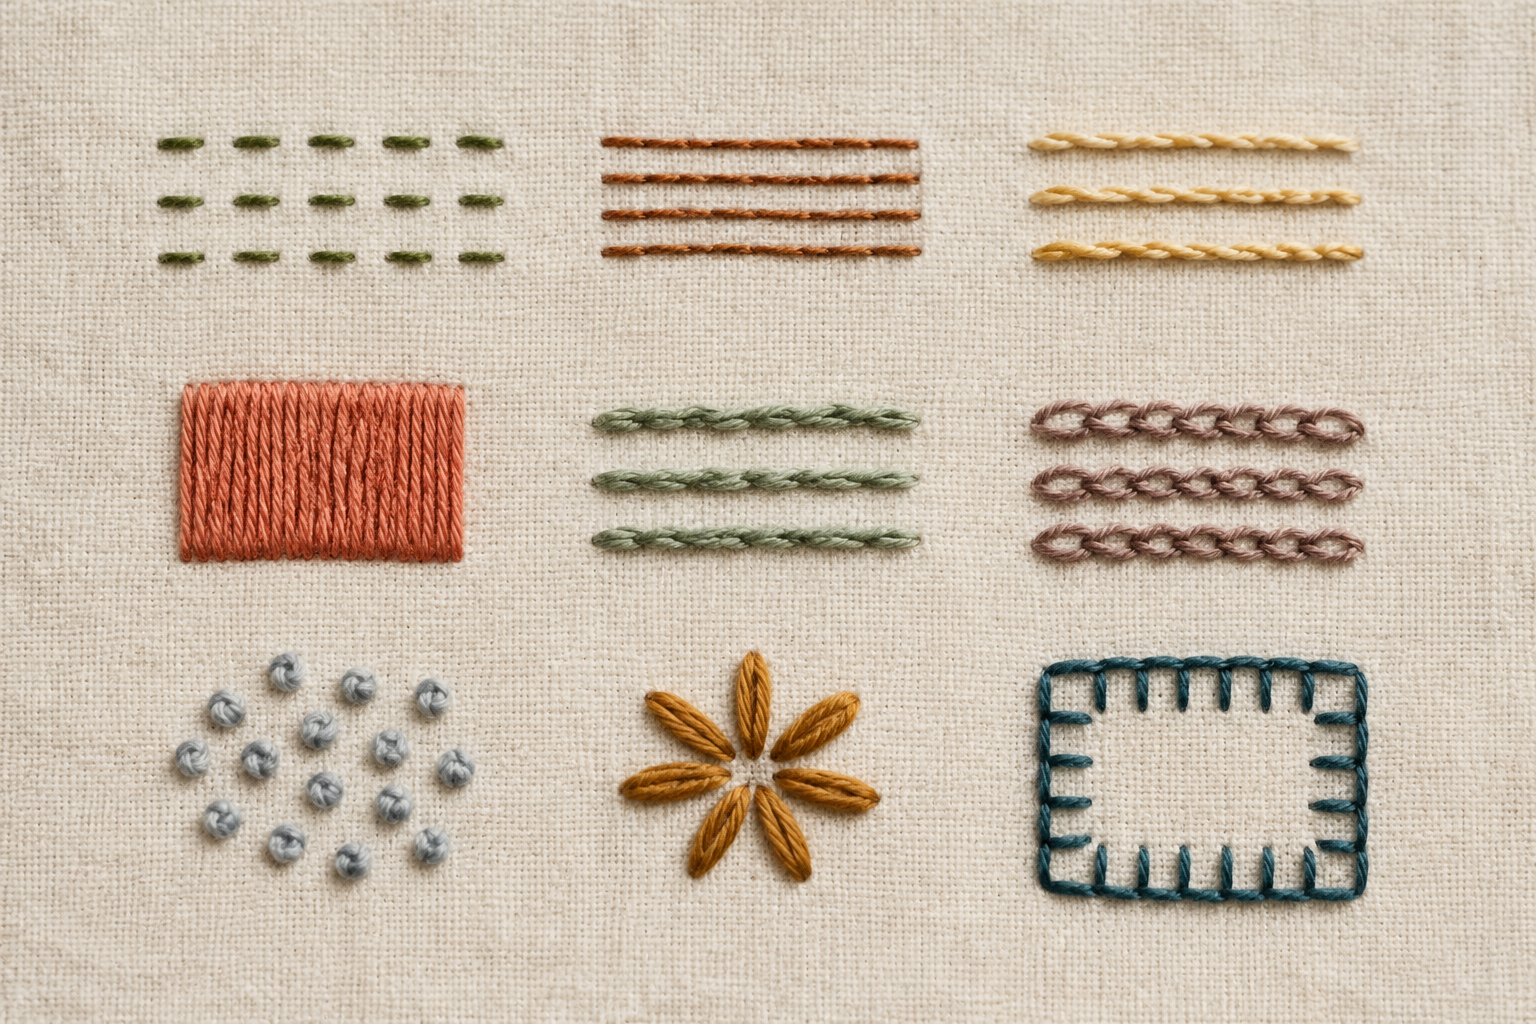
Running stitch
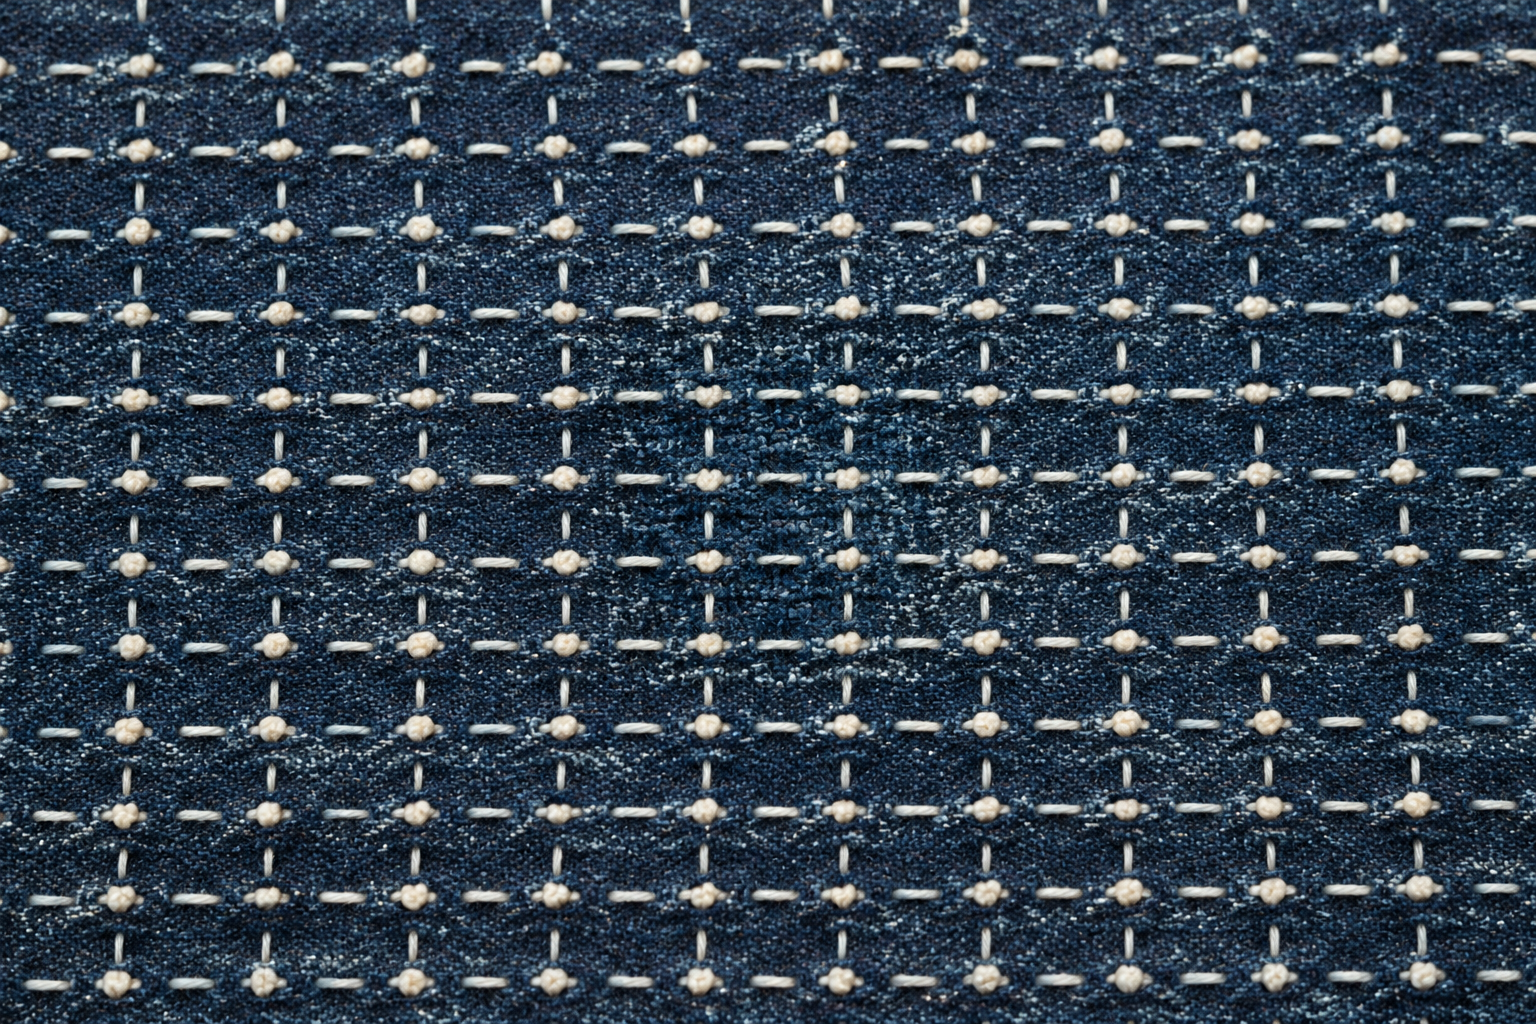
The simplest. Bring the needle up, take it down a stitch-length away, bring it up another stitch-length on. Keep the spaces and the stitches roughly the same size. Running stitch is the basis for Japanese sashiko.
Back stitch
Like running, but you stitch backwards to fill the gaps. The result is a solid line — better than running stitch when you want a continuous outline.
Stem stitch
A rope-like line for curves. Each stitch starts slightly to the side of the last one, with the thread always kept below the needle. Excellent for botanical stems and curved letters.
Satin stitch
Side-by-side parallel stitches to fill a shape. Tension matters: too loose and the fill puckers, too tight and the fabric draws. Use shorter satins for small shapes.
Split stitch
The needle comes up through the middle of the previous stitch, splitting its strands. Creates a knitted-looking line and an excellent base for filling.
Chain stitch
A loop of thread is held in place by the next stitch. Chain stitch can be a single line, or worked side by side as a fill. It is the oldest decorative stitch known.
French knot
The most-feared stitch. Wrap the thread around the needle twice, take the needle back through the fabric a thread's width from where it came up, and pull slowly. The wrap becomes a tight bead on the surface.
Lazy daisy
A single isolated chain — one petal at a time. Arrange five or six around a central point for a daisy.
Blanket stitch
A loop along an edge. Often used to finish the perimeter of a piece of felt or to bind the edge of a hoop.