Visible mending treats damage as an invitation to decorate. Instead of hiding the repair under a matching thread, you choose a contrasting colour and a regular pattern, so the repaired area becomes the most considered detail on the garment.
The philosophy
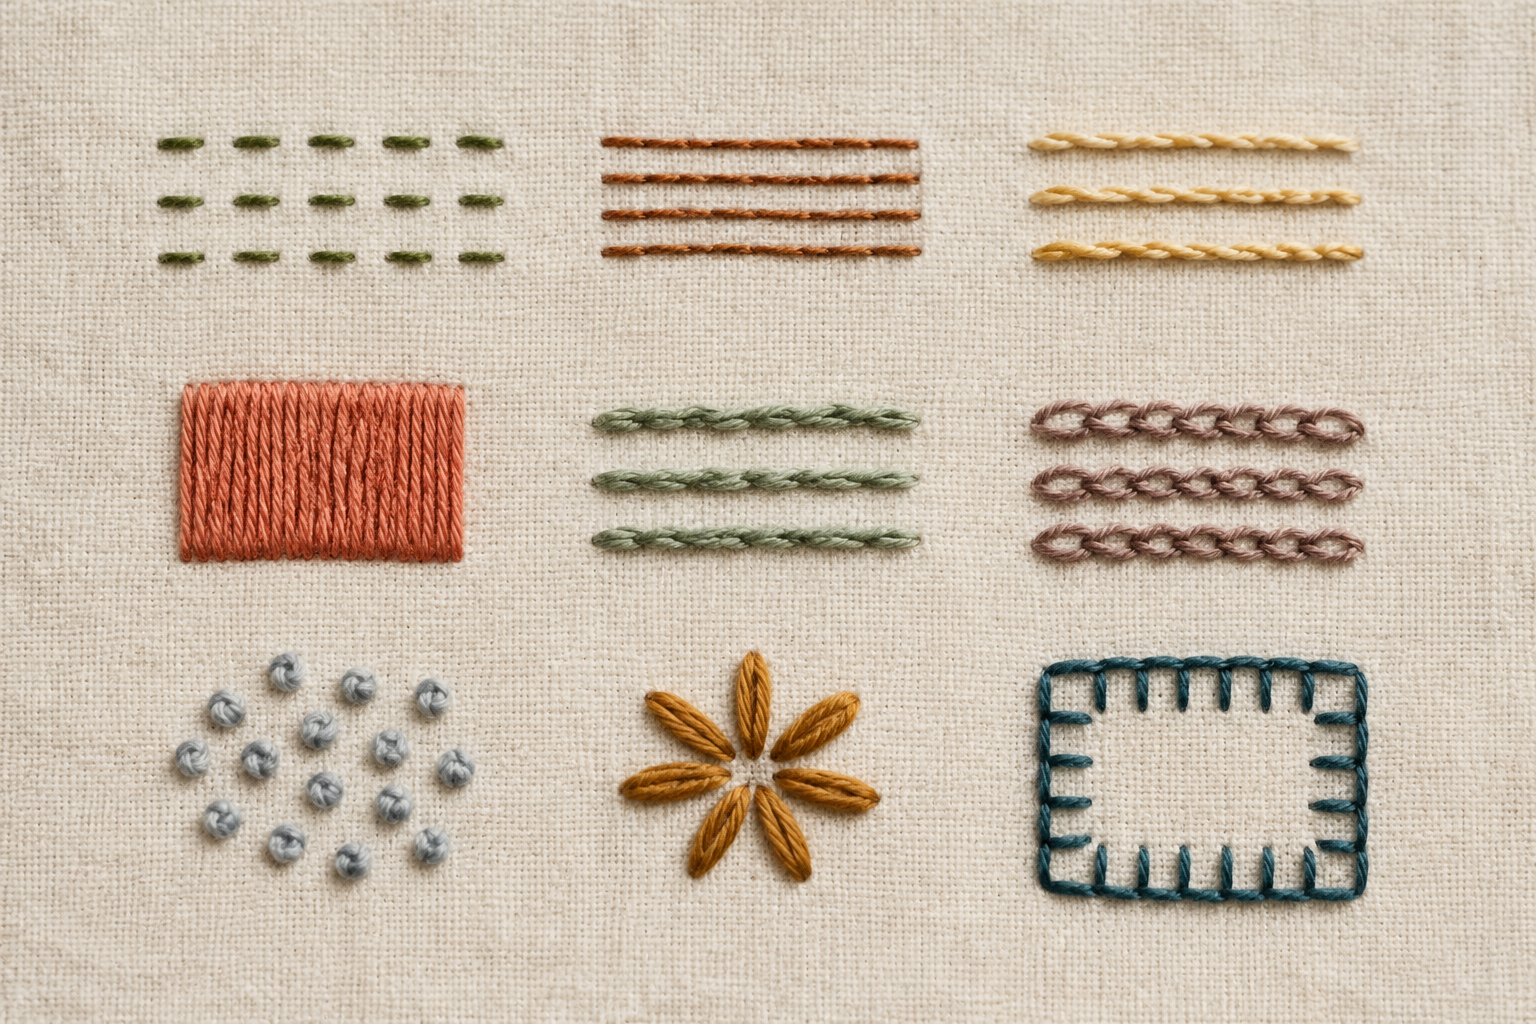
Two traditions sit behind today's visible mending: Japanese sashiko, which used rows of running stitch to reinforce thinning workwear; and English darning, which wove new threads across a hole to rebuild the fabric.
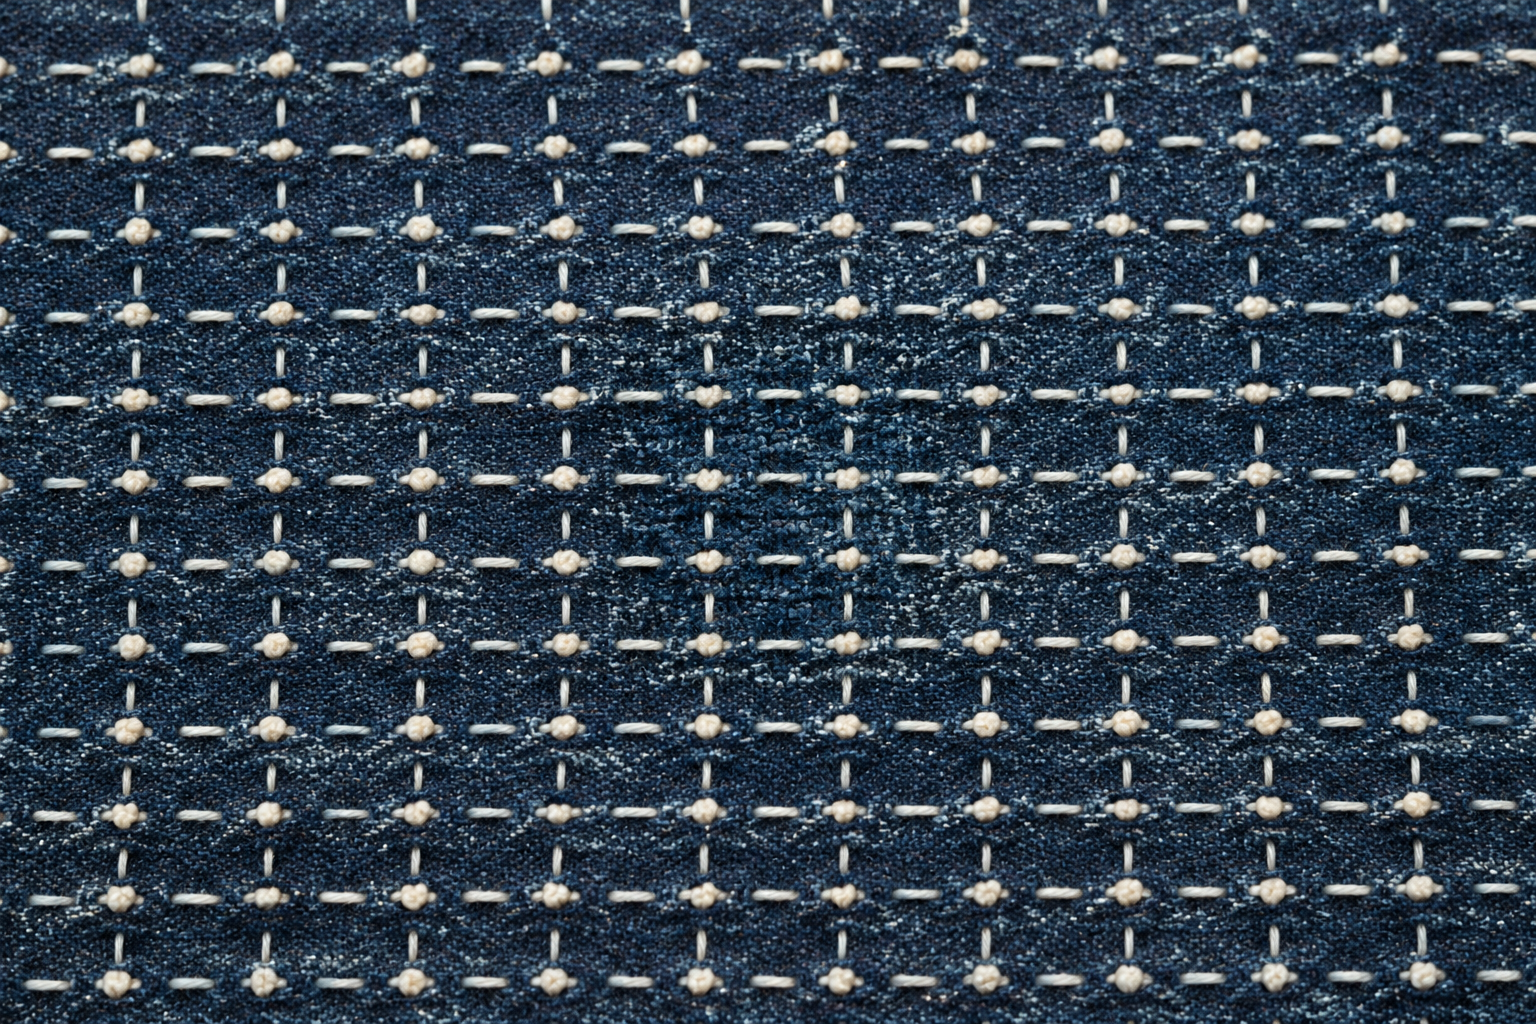
Sashiko grid
Mark a grid of dots, two or three millimetres apart, across the worn area. Run a row of running stitches along one line of dots. Begin the next row half a stitch offset. The result is a soft, mechanical pattern that holds the fabric.
Woven darning
Stretch the worn area in a small hoop. Lay a grid of parallel threads across the hole. Then weave a second set of threads perpendicular to the first, going over-under-over. You rebuild the fabric.
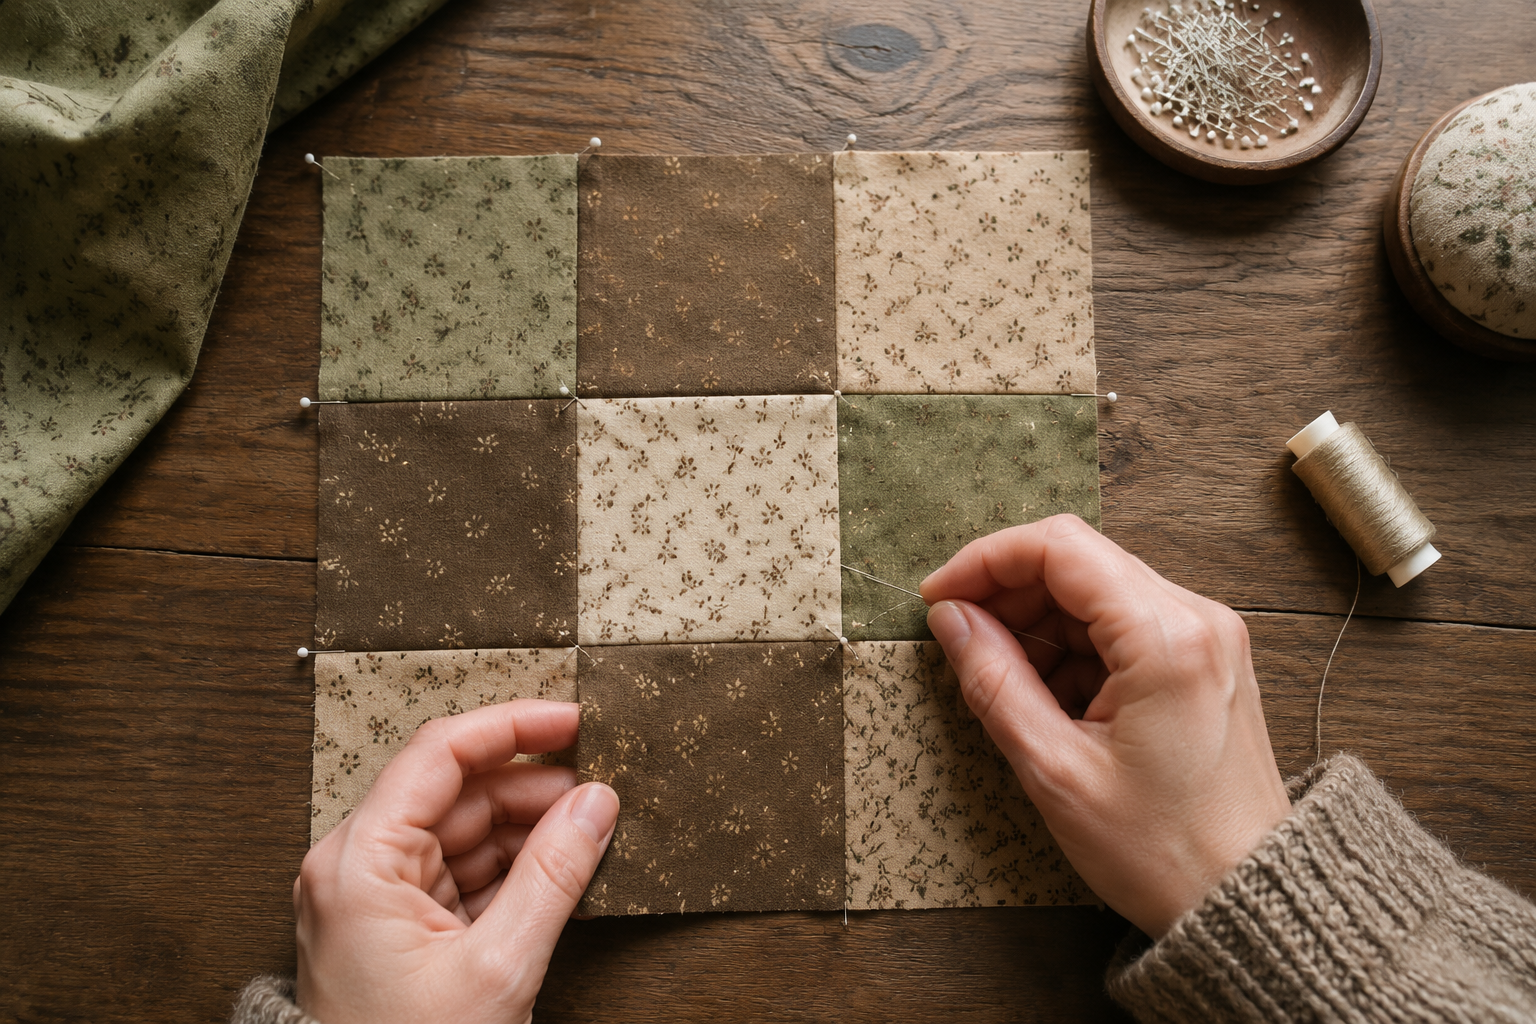
Reinforced patch
For larger holes, place a round cotton patch behind the hole and sashiko-stitch through both layers. The patch becomes the new fabric; the stitches hold it.